 Norsk
Norsk English
 Snaustrinda Bamsemakeri

Creating a teddy
| Every teddy starts its life in the mind of the bear maker. You create an image og how the bear will be and make a pattern. The pattern has to be precise and exact, so the bear will be symetrical and nice in the end. | |
|
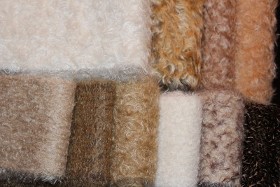
Then, we'll have to find a suitable "fur" for the teddy. My first choice is mohair fabric. It is the most popular material for teddies in the world. Mohair is mostly produced in Europe from wool of Angora goats. It is made in a wide choice of colors, textures and hair lengths. In addition, mohair is a tight and not elastic material that will keep the teddy's shape unchanged for years. |
|
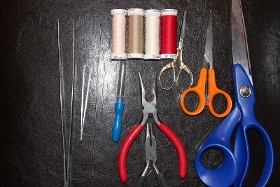
I sew my teddys by hand. It is 100% hand work and no machines are used. The list of equipment needed for making a teddy varies from one teddy to another. I can mention the most important tools for the work.
|
|
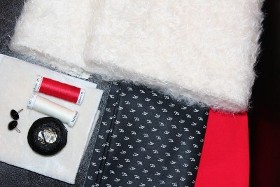
I like to gather everything i need for making a teddy, to give me a clear picture of how the result will be |
|
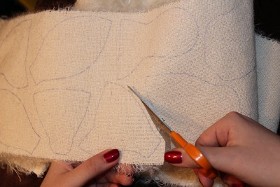
I start the sewing by transferring the pattern to the mohair. When all the pieces are transferred, we can start cutting all the detials. I usually use half a centimeter margin to make sure the stitching doesn't open by accident. I cut the mohair carefully, and remove loose hair on the edges. |
|
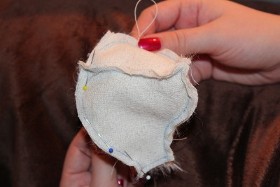
Then everything is ready for sewing! I always start with the teddy's head. I thnik it is the most difficult and most exciting part! Before i start sewing, I double check the symmetry on the parts and fasten them with pins. It helps with keeping all the details in place. Then I start sewing the parts together with small stitches. |
|
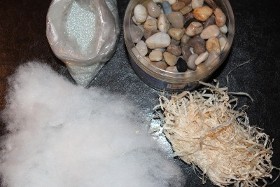
When the head is sewed together we need to fill it. I use various materials for stuffing. Usually it is polyester fiber, wool, wood wool glass pellets, steel pellets or mineral pellets. Pellets are needed to get the right weight for the teddy so it feels alive and real. |
|
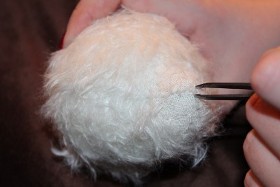
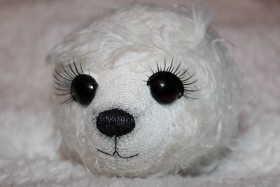
The head are sewed and filled. Now we need to make the face of te teddy. It is a very important part of the work that decides the the teddy's style and personality. We start with the nose. I stitch the nose on my teddies. But first i remove the hair from the nose area with some tweezers. |
|
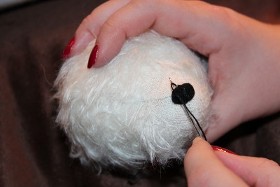
The nose are stitched from the center towards left at first, then from center to right. Noses may have different sizes, shapes and colours. It is important to remember that it has to be symmetrical and suitable for the teddy's personality! |
|
When the nose is in place, we choose colour and size for the eyes and sew them in place. Then we decide upon a suitable smile for our teddy. |

|
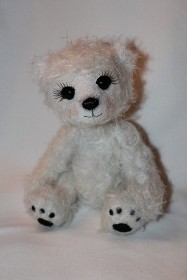
We sew the parts together and fasten them to the teddy's body with cotter pin joints. I use a double joint for the head. It helps giving the teddy a nice neck. |
|
Taram! Out teddy is sewed!! |
|
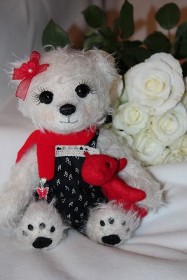
Now we make decorations, clothes and a little friend for our teddy. The teddy is happe and ready for getting a new home! |